
I am sure those of you who are on Pinterest have seen these toolbox makeovers before. I saw them and knew it was something that would help me stay organized and keep the little things in places where I could find them.
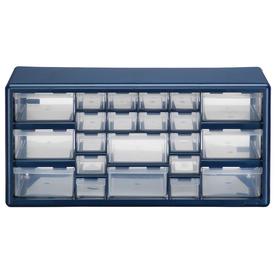
I headed to Lowes for a toolbox. This is what mine looked like before (sorry I didn't get a better before picture)
Grabbed a can of primer spray paint and white glossy paint as I wanted to to go well with our classroom.
When I got home I spray painted the base of the tool box with the primer and then once it was dry sprayed the white paint on it.
While I was waiting on it to dry I had laid my drawers out in order to how they were in the box. This way I could lay out what papers I was going to use. You will need scrapbook paper or fabric of your choice to line the drawers.
I traced the back part of the drawer on the paper and it fit perfectly on the inside.

Then I mod podge them in. I suggest taping them though as it was a bit difficult and if I could go back that is what I would have done.
Once the base is dry place the drawers inside.

Then it is time to label the drawers. Which I haven't finished as I am not sure what all I am placing in there yet.
I used scrapbook stickers on the outside of the drawer for labeling.

Have you made one of these? If so share a link in the comments. I would love to see it!
That is AWESOME! I need about 10 of those for all our little odds and ends! :-)
ReplyDelete